

How to File Form 941 Electronically in 2026: A Complete Guide
reading time: 5 minute(s)
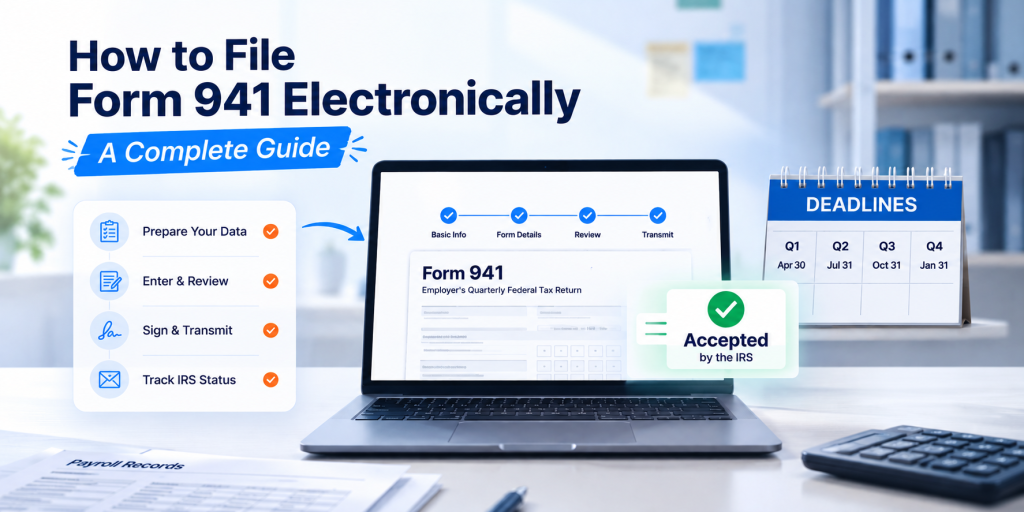
Payroll is done, paychecks are out, and everything seems to be checked off the list. Then comes Form 941.
Every quarter, employers need to report their payroll taxes to the IRS, and getting the numbers, schedules, and filing details right can feel like one more task to squeeze into an already busy schedule. The good news? Once you know what to prepare and how the process works, filing Form 941 electronically can be much more manageable.
In this guide, we’ll walk you through the process step by step, from gathering your payroll information to reviewing, submitting, and tracking your Form 941.
Let’s get started.
Before You Start: What You’ll Need
Gather the information for your Q3 2026 payroll before starting your Form 941. Having your records ready can help you complete the return accurately and avoid delays.
You’ll typically need:
- Employer details: EIN, legal business name, trade name, and business address
- Payroll information: Total wages, tips, and other compensation paid during July, August, and September
- Federal income tax withheld: Total federal income tax withheld from employee wages
- Social Security and Medicare information: Taxable wages, tips, and applicable employee and employer taxes
- Tax deposit records: Federal payroll tax deposits made during the quarter
- Schedule B: If you are a semiweekly schedule depositor
- Schedule R: If applicable to your filing situation as an aggregate filer
- Form 8974: If you are claiming the qualified small business payroll tax credit for increasing research activities
- Signature information: The required IRS-approved signature or authorization method
- Credit or adjustment information: Supporting records for any applicable credits or adjustments
Review your payroll and deposit records before beginning the filing process to make sure the amounts reported on Form 941 are accurate.

Quick tip: Most depositors fall into one of two categories, monthly or semiweekly, based on their total tax liability during the lookback period. If you’re not sure which one applies to you, check your prior-year Form 941 filings or your IRS deposit schedule notice.
How to File Form 941 Electronically
Once your information is gathered, you’re ready to file. E-filing means submitting your return through an IRS-authorized e-Once your Q3 2026 payroll information is ready, you can file Form 941 electronically through an IRS-authorized e-file provider rather than mailing a paper form.
Step 1: Select Form 941 and Q3 2026
Select Form 941, then choose Q3 2026 as the filing period. Make sure the quarter matches the payroll records you are reporting.
Step 2: Enter Your Payroll Information
Enter the payroll and tax information for the quarter, including wages, federal income tax withheld, Social Security and Medicare wages and taxes, and other applicable amounts.
If your e-file provider supports data import, you may be able to upload your payroll information instead of entering the data manually.
Step 3: Complete Applicable Schedules and Forms
Depending on your filing situation, you may need to complete additional forms or schedules with Form 941.
- Schedule B: For applicable semiweekly schedule depositors
- Schedule R: For applicable aggregate filers
- Form 8974: If claiming the qualified small business payroll tax credit for increasing research activities
Make sure the information on these forms agrees with the amounts reported on Form 941.
Step 4: Review Your Return
Review your completed Form 941 before submitting it. Compare the return with your payroll and tax deposit records and check for:
- Incorrect employer information
- Incorrect quarter or tax year
- Payroll calculation errors
- Missing information
- Incorrect tax deposits
- Missing schedules or supporting forms
An e-file provider may also run validation checks to identify errors that need to be corrected before transmission.
Step 5: Sign and Authorize the Return
Complete the required signature and authorize your return using one of the IRS-accepted signature methods: a 94x Online Signature PIN, Form 8879-EMP, or Form 8453-EMP. If you’re a tax professional filing for a client, you’ll typically need their authorization on file before you can transmit on their behalf.
Step 6: Transmit Form 941 to the IRS
After reviewing and signing the return, transmit Form 941 electronically to the IRS. Keep track of the submission status after transmission. You should receive an IRS acknowledgment indicating whether the return was accepted or rejected.
Step 7: Correct and Resubmit a Rejected Return
If the IRS rejects your Form 941, review the rejection reason and make the required corrections. Once the issue is resolved, retransmit the return electronically.
Do not submit another original Form 941 simply because your first return was rejected.

How to Pay Form 941 Taxes
Filing Form 941 and depositing your payroll taxes are separate requirements. If you have a balance due, make sure the required tax has been deposited or paid according to your applicable IRS requirements.
Common payment methods include:
- Electronic Funds Withdrawal (EFW): Authorize a direct debit from your bank account when you file, either immediately or scheduled up to the filing deadline
- Electronic Federal Tax Payment System (EFTPS): The IRS’s free payment portal, which most employers are already required to use for regular payroll tax deposits. Learn more about EFTPS. Learn more about EFTPS
- Credit or debit card: Pay through an IRS-approved payment processor, with processing fees that vary by provider
- Check or money order: Mail your payment with Form 941-V, the payment voucher, if you’re not paying electronically
- IRS Online Account(Direct Pay): Business taxpayers can also schedule or make payments directly through their IRS Online Account
Your required deposit schedule depends on your payroll tax liability and applicable IRS rules.
Form 941 E-Filing Features From TaxBandits
TaxBandits offers features designed to help businesses and tax professionals prepare, review, and e-file Form 941 efficiently.
- Direct Form Entry: Enter your quarterly payroll and tax information directly into Form 941.
- Smart Upload: Upload payroll data from a supported file, map the required fields, and review the information before filing.
- Copy Prior Quarter Data: Carry forward eligible information from a previous quarter to reduce repetitive data entry.
- Zero Reporting: File a zero Form 941 when you have no payroll or tax liability to report for the quarter.
- Bulk 941 Entry: Prepare multiple Form 941 returns using an Excel-style grid when filing for multiple businesses.
- Built-In Error Checks: Identify missing or inconsistent information before transmitting your return.
- Review and Sign: Review the completed return and complete the required electronic signature and authorization steps.
- Electronic Transmission: Transmit your completed Form 941 electronically to the IRS.
- Filing Status Tracking: Monitor your return after submission and check whether it has been accepted or requires attention.
What Happens After You File Form 941?
Your work isn’t quite finished when you click Submit. After transmitting your return:
- Check the filing status to see whether your return was accepted or rejected.
- Review the IRS acknowledgment once it is available.
- If rejected, correct the issue and retransmit the return.
- Keep your filing records and supporting payroll documentation for your records.
Staying on top of the filing status helps you know whether your Form 941 has successfully made it through the filing process.
Common Form 941 Filing Mistakes to Avoid
Before submitting your Q3 2026 return, check for these common errors:
- Selecting the wrong quarter or tax year
- Entering an incorrect EIN
- Reporting payroll amounts that do not match your records
- Entering incorrect tax deposits
- Omitting a required Schedule B or other applicable form
- Failing to complete the required signature or authorization
- Waiting until the deadline to resolve filing errors
Reviewing the return carefully before transmission can help prevent avoidable rejections and corrections.
Final Thoughts
E-filing Form 941 doesn’t have to be complicated. With the right preparation and the right e-file solution, you can simplify quarterly payroll tax filing, reduce errors, and stay compliant with IRS requirements.
Frequently Asked Questions
1. How long does IRS acceptance take after e-filing Form 941?
Most returns get an acknowledgment within 24 hours. If there’s an issue, the IRS sends a rejection notice explaining what to correct before you resubmit.
2. What is the Q3 2026 Form 941 deadline?
The Q3 2026 Form 941 deadline is November 2, 2026. Employers that qualify for the 10-day extension may have until November 10, 2026, provided the required taxes were deposited in full and on time.
3. Can I e-file Form 941 myself?
Yes. Any IRS-authorized e-file provider lets you prepare, submit, and track your return online without mailing anything or working through a tax professional.
4. Can I file Form 941 if I had no wages this quarter?
Yes. If you’re still an active employer required to file, you’ll submit a zero return even without wages or withholding for that period.
5. What if I made a mistake after filing?
Don’t file a second original return. Use Form 941-X to correct errors in wages, tax withholding, credits, or other reported amounts.
6. Do I need to file Schedule B with Form 941?
Only if you’re a semiweekly depositor, attach Schedule B (Form 941). Monthly depositors typically don’t need to attach it.
Leave a Comment