

reading time: 14 minute(s)
Imagine, it’s the first week of January.
Your finance team is preparing 1099s, and suddenly someone asks, “Did we ever get the W-9 from that contractor?”
You scroll through old emails, check shared folders, and send follow-ups. One recipient says they already sent it. Another sends an unsigned copy. Someone attaches a blurry picture. Meanwhile, your team is still waiting on the taxpayer details needed to complete the filings.
What started as a simple form request has turned into a last-minute scramble.
What is Form W-9, and why does it matter?
Form W-9, officially titled “Request for Taxpayer Identification Number and Certification,” is the IRS form businesses use to collect key tax details from recipients before making payments. When a recipient fills out a W-9, they provide:
- Legal name, business name (if different), and mailing address
- Federal tax classification
- Taxpayer Identification Number (TIN), either an SSN or an EIN
- A signed certification confirming the information is accurate
Every detail flows directly into the 1099 filed at year-end. Incomplete or incorrect information leads to filing errors, IRS notices, and penalties.
Who needs to submit a W-9?
You should collect a W-9 from:
- Independent contractors and freelancers who pay $600 or more in a year
- Recipients providing services to your business
- LLCs, sole proprietors, and partnerships, you pay regularly
- Anyone receiving rents, royalties, interest, or dividends from you
Corporations are generally exempt, but exceptions apply, such as payments for legal or medical services.
The complete W-9 workflow
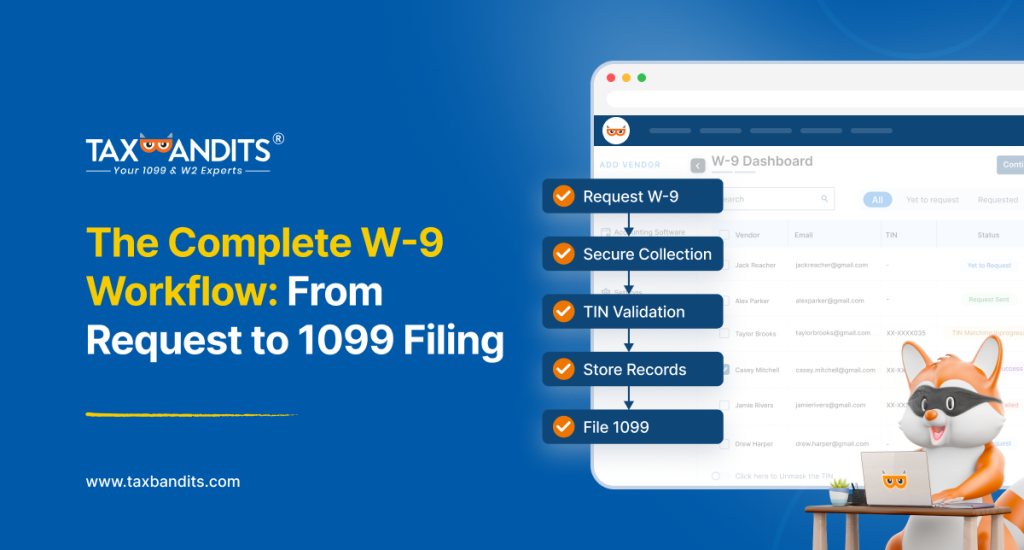
With the right process, businesses can collect W-9s earlier, reduce errors, and make the 1099 season far easier to manage. Here’s how that workflow looks, from the first request to final filing.
Step 1: Request the W-9 at onboarding
The right time to request a W-9 is before the first payment, during recipient onboarding. Make it part of your standard process alongside contracts and payment setup — waiting until Q4 means chasing recipients under deadline pressure.
Step 2: Collect recipient information securely
Once your recipient receives the request, they fill in their details and submit the completed form. Simple enough, but here is where many businesses make a costly mistake.
One thing to be careful about here: never ask vendors to email their completed W-9 as an attachment. A W-9 contains sensitive information, such as SSNs and EINs — always collect it through a secure, encrypted channel to protect the information.
Step 3: Review and validate the submitted W-9
Receiving the form is not the finish line. Before storing it, verify:
- The name and TIN match IRS records (TIN matching)
- The tax classification is correctly selected
- The address is complete and valid
- The form is signed and dated
Step 4: Handle missing or incomplete W-9s
If a recipient does not provide a valid W-9, you are legally required to withhold 24% of their payments and remit them to the IRS. This is called backup withholding, and it applies when:
- The recipient fails to provide a TIN or provides an incorrect one
- The IRS notifies you that the recipient has underreported income
On top of that, the IRS sends CP2100 or CP2100A notices when your information returns contain missing or incorrect TINs. Once you receive the notice from the IRS, you are responsible for starting backup withholding on future payments to that recipient until the issue is resolved.
Step 5: Organize and store W-9 records
Store completed W-9s in a centralized, secure location organized by recipient name or TIN — only request a new one when a recipient’s name, address, or TIN changes. Organized records now mean faster 1099 preparation later.
Step 6: Use W-9 data for 1099 preparation and filing
When filing time arrives, W-9 data maps directly onto your 1099 forms — name and TIN populate the form, tax classification determines which 1099 to use, and the address goes to recipient copies.
How TaxBandits W-9 Manager streamlines the entire workflow
Managing this process manually across dozens of recipients is exactly where things break down. TaxBandits’ FREE W-9 Manager brings the entire workflow into one secure, streamlined platform — helping businesses collect, manage, and organize recipient tax forms with ease.
Here is what it offers:
- Multiple collection methods — Send W-9/W-8 requests via email, text, SmartCollect Link, or QR code, with e-sign support from any device
- Email notifications and reminders — Get instant or digest notifications, plus automated reminders for pending submissions
- Verification and validation services — Run TIN Matching, USPS Address Validation, and compliance checks before filing
- AI-powered data extraction — Upload paper W-9s and let AI extract and organize recipient data automatically
- Seamless workflow integrations — Connect with 8,000+ apps through Zapier, including QuickBooks, Xero, and Google Sheets
- Custom branding options — Personalize emails and client portals to reflect your brand
- Seamless 1099 filing integration — Verified W-9 data flows directly into 1099-NEC or 1099-MISC e-filing within TaxBandits
Best of all, it is completely free — no time limits, no credit card required, and no restrictions on the number of W-9 requests you send.
Leave a Comment